E-Series Hotend Electronics Replacement
This guide is for the replacement of the wiring harness on the print head containing the Thermistor, Heater Rod, Part Cooling Fan, and Hotend Cooling Fan. This style of hotend is present on late model D-Frame and all E-Frame Pulse 3D Printers.
Tools needed for this process:
- 1.5mm Allen key wrench
- 2mm Allen Key wrench
- 2.5mm Allen Key wrench
- Phillips head screwdriver
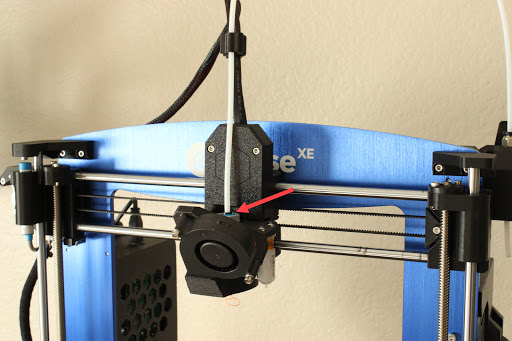
Step 1 Remove the PTFE Tube
To remove the PTFE tube, you will need to slide the Blue Collet out and press down on the black retainer ring while pulling up on the PTFE tube.
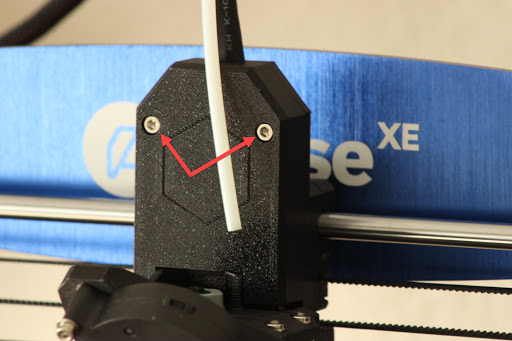
Step 2 Remove The Front Cover
Remove the front cover by loosening the two 2.5mm screws.
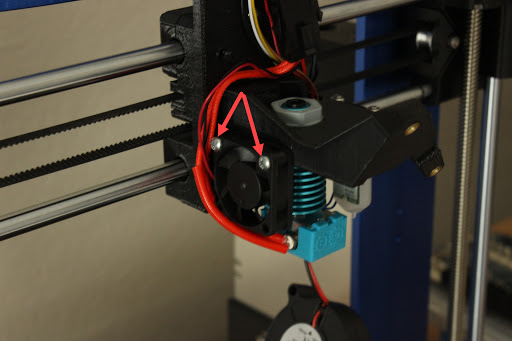
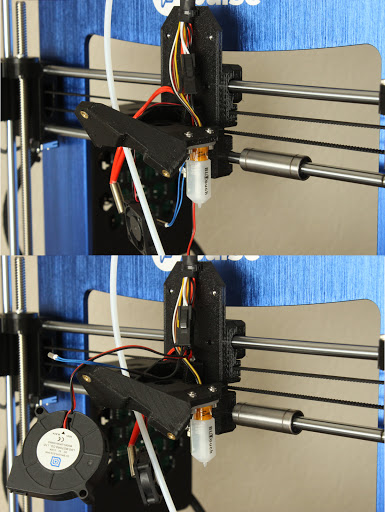
Step 3 Remove the Part Cooling Fan
Remove the two 2.5mm screws from the Part Cooling Fan.

Next, Remove the Part Cooling Fan Duct by loosening the 2.5mm screw located on the top face of the Print Head Bracket.
Once this is done, let the fan hang for now.
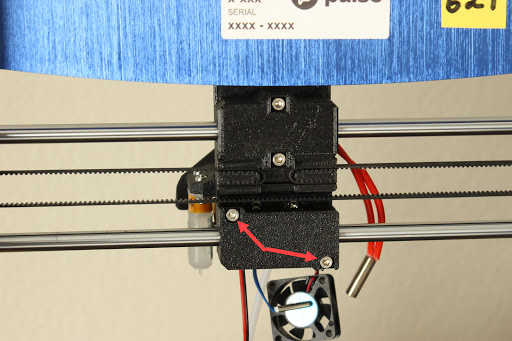
Step 4 Remove the Hotend Cooling Fan
Remove the two Phillips head screws from the Part Cooling Fan.
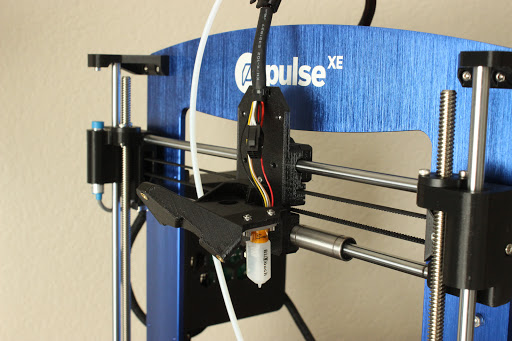
Step 5 Hotend Removal
Loosen and remove the grey nut on top of the Hotend. If the Hotend does not drop down, you can press lightly on the exposed screw top to dislodge it. This will cause it to hang by the Thermistor and Heater Rod cables, take care to not pull hard on the Hotend while it is hanging.
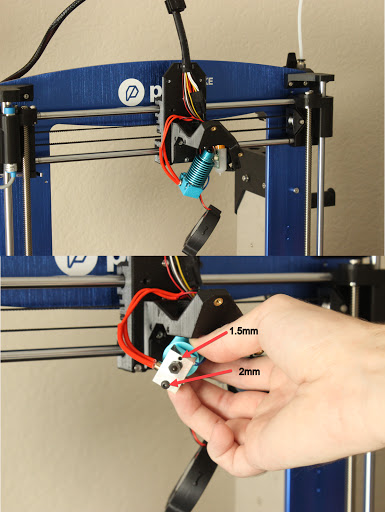
Next, remove the Blue Silicone Sock from the hotend. Remove the Thermistor and Heater Rods using the 1.5 and 2mm Allen wrenches.
From this point, the Hotend should be removed with both Fans, the Heater, and Thermistor Rods.

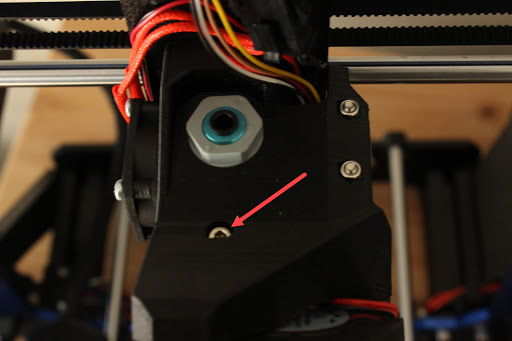
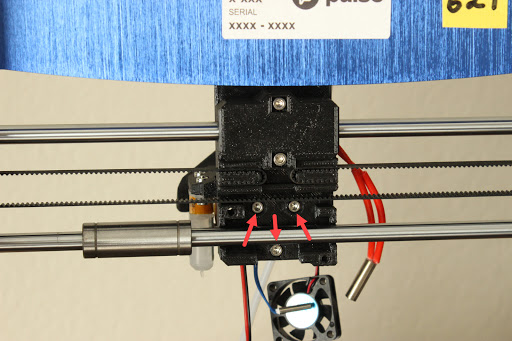
Step 6 Loosening the Front Bracket
To fully remove the Wiring Harness, we need to loosen the Mounting Bracket enough to let the wires slip past the printed gate that holds them. To do this, turn the printer around and remove the lower bearing cover. Once removed, the Printhead can be tilted out of the way and the bearing slid aside. Loosen the three 2.5mm screws enough that the Thermistor and Part Cooling Fan can be removed.
Step 7 Disconnect the Wiring Harness and replace
Once the harness is removed and out of the way, the Printhead should look like this.
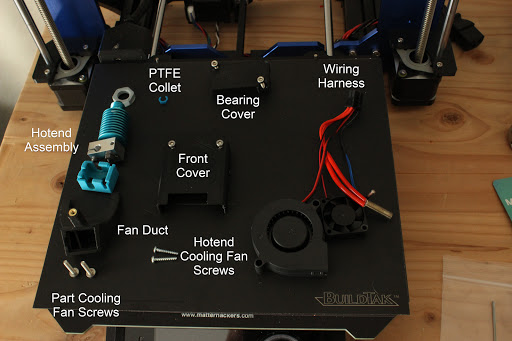
You should have the following items on hand.
- PTFE Collet
- Hotend Assembly
- Fan Duct
- Part Cooling Fan Screws x2
- Hotend Cooling Fan Screws x2
- Front Cover with Screws
- Bearing Cover with Screws
- Wiring Harness